

How to create a function
A function is a piece of JavaScript or TypeScript that runs from Shopify Flow, from your own systems over the API, or on a schedule. This page walks through creating one, testing it and saving it.
Step 1: Create the function
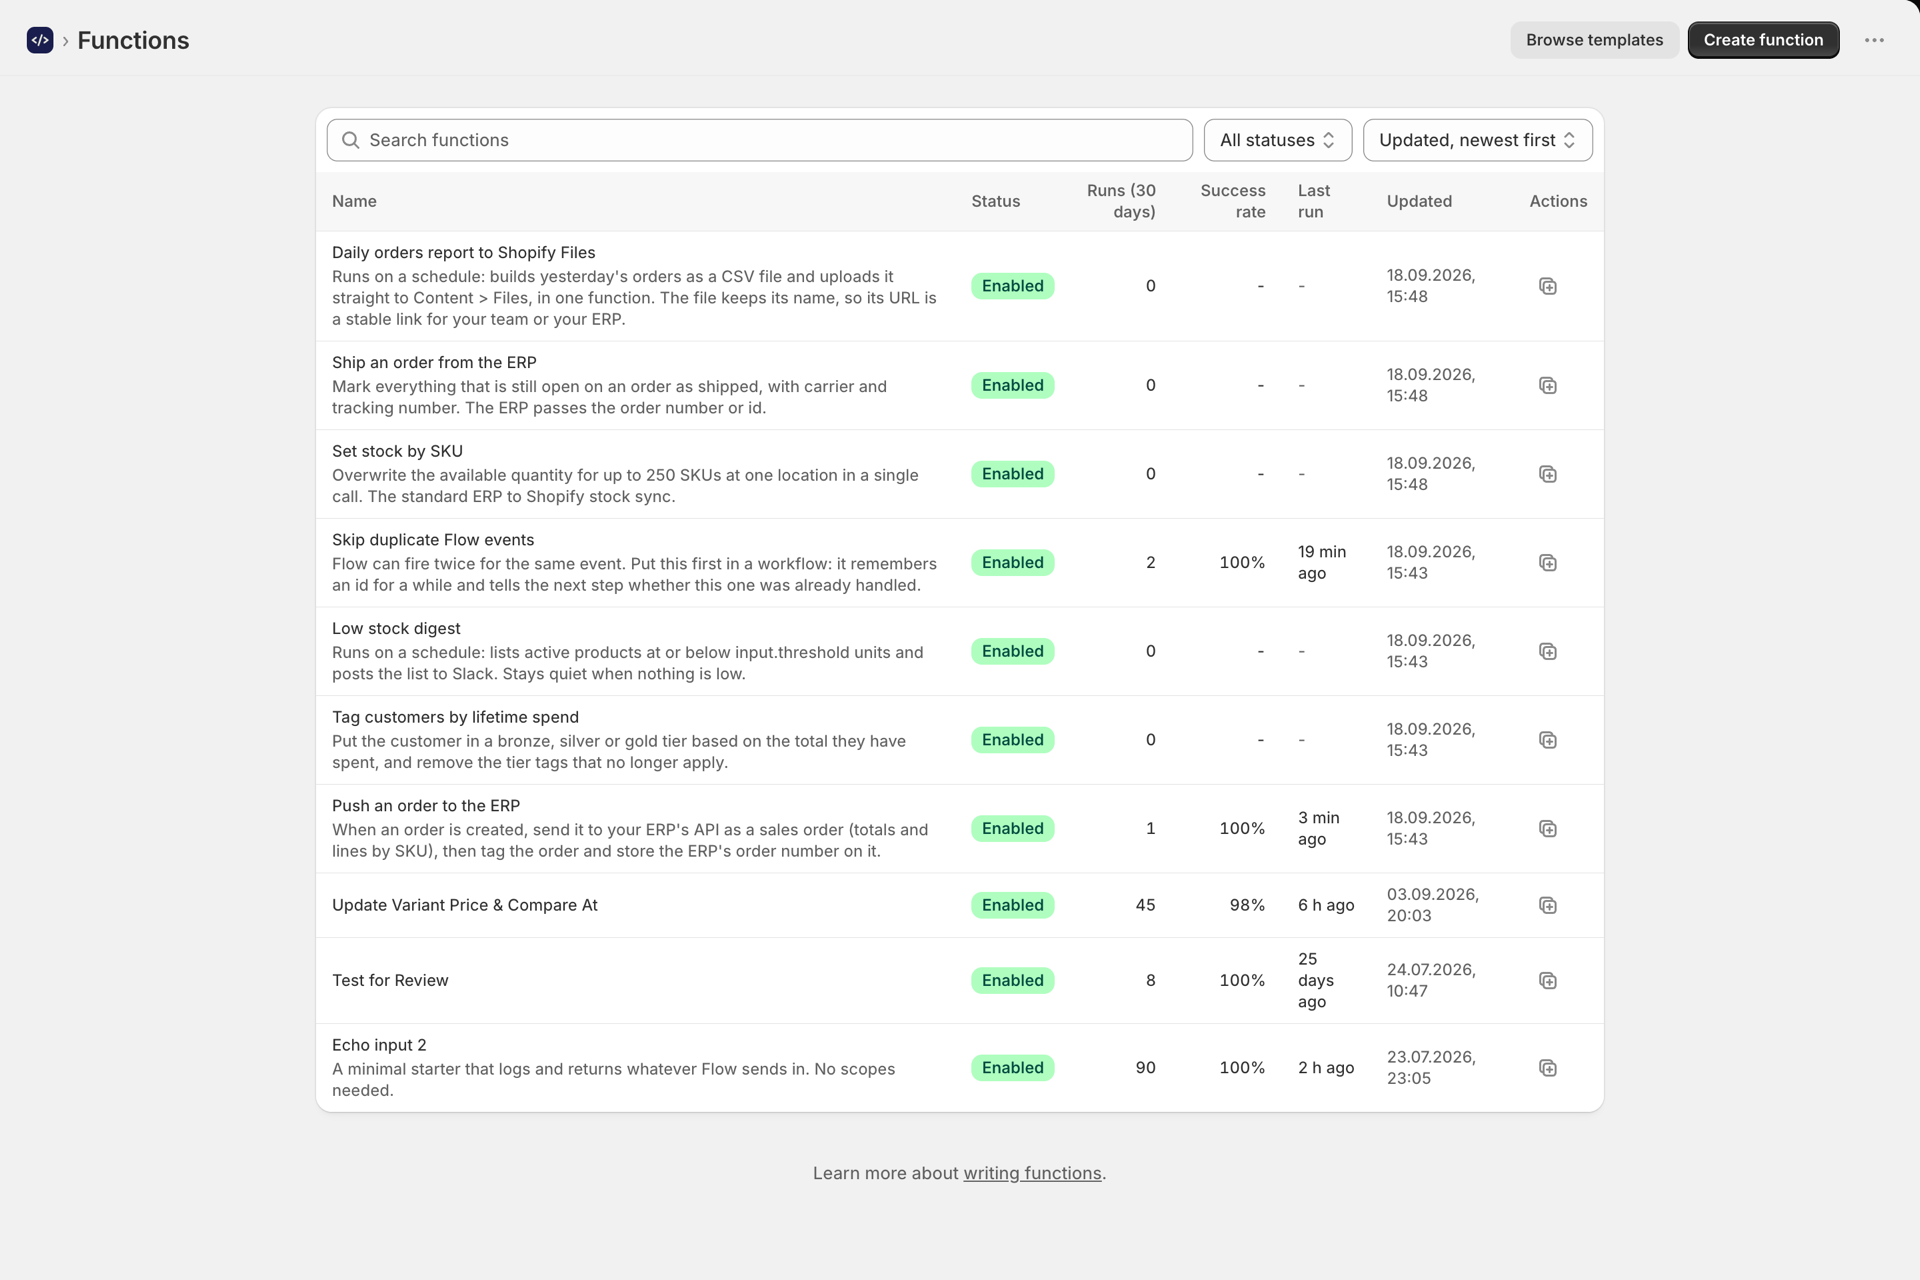
Open Functions and select Create function. You land in the editor with starter code filled in.
Prefer to start from something that works? Select Browse templates instead - a template becomes your own function in one click. See Using templates. With an AI provider connected, Create function can also draft the whole function from a description. See Generate functions with AI.
Step 2: Write the code
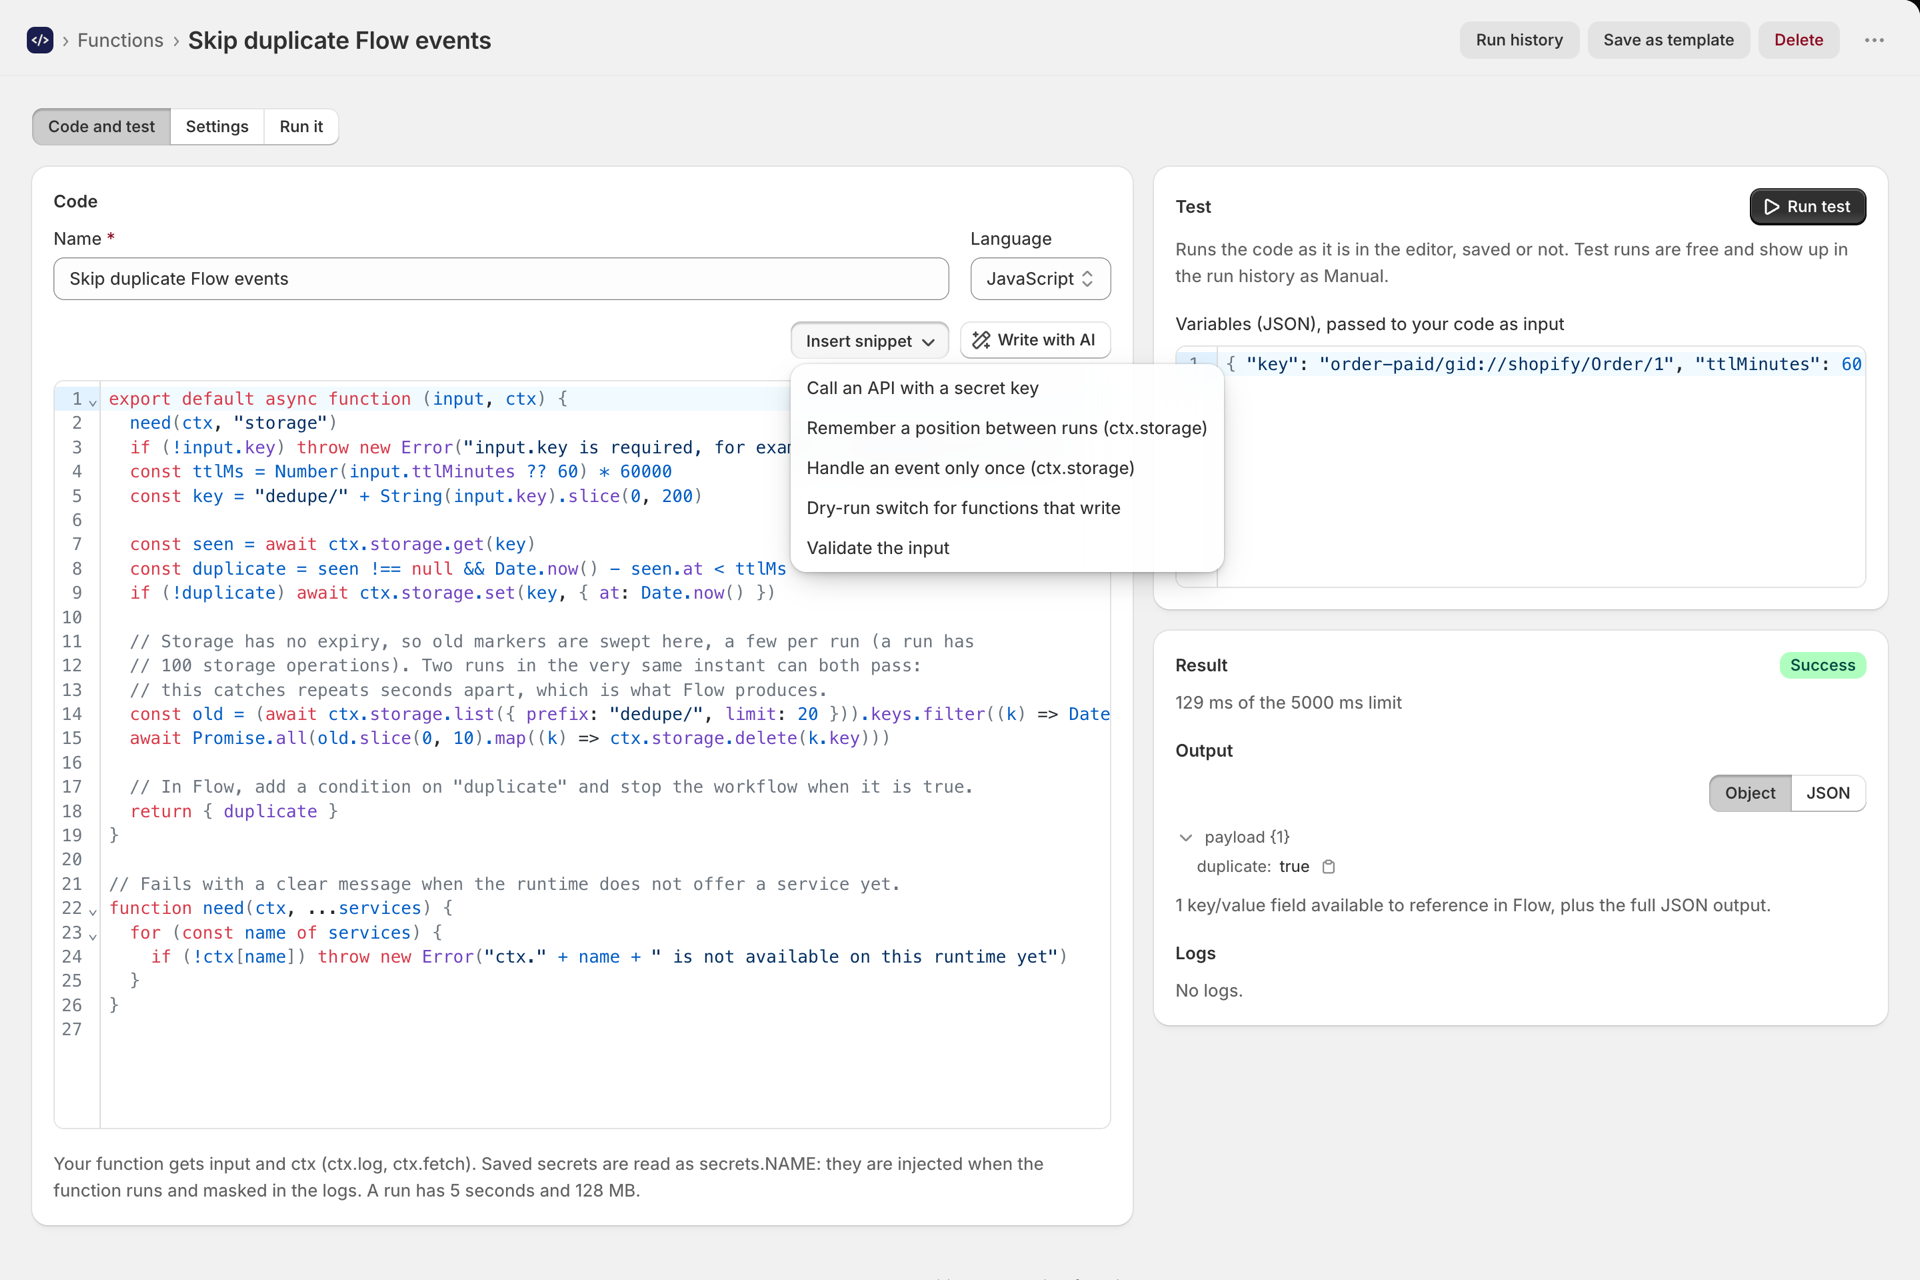
The editor has three tabs: Code and test, Settings and Run it. On Code and test, the code sits on the left and a test bench on the right.
- Name is what you pick in Shopify Flow and what the API shows, so make it describe the job, for example "Tag VIP customers".
- Language is JavaScript or TypeScript. TypeScript types are removed before the run, so both behave the same.
Your function must export one default async function that takes (input, ctx):
export default async function (input, ctx) {
  ctx.log("running with", input)
  return { ok: true, received: input }
}
The editor completes ctx., ctx.shopify., secrets. (the names of your secrets) and input. (the keys of your test variables) as you type.
What you get
| Item | What it does |
|---|---|
input |
The JSON the function is called with |
ctx.shop |
Your store domain, for example my-store.myshopify.com |
ctx.log(...) |
Writes a line to the run's logs, like console.log |
ctx.fetch(url, options) |
HTTPS request to another system. Returns { status, ok, headers, text(), json() } |
ctx.shopify.graphql(query, variables) |
Shopify Admin GraphQL, when Needs Shopify data is on |
ctx.storage |
get, set, delete and list for data kept between runs. See Storage for your functions |
secrets.NAME |
A value saved on the Secrets page |
Whatever you return becomes the output. Return a plain object, a string, a number, or nothing.
Step 3: Test it
The test bench runs the code as it is in the editor, saved or not, so you can try a change before it goes live.
- Put the input you want to test with into Variables (JSON), passed to your code as input.
- Select Run test.
- The Result card shows the status, how long the run took against the 5-second limit, the output (as a tree or as JSON), the fields Flow will offer from it, and your logs.
Test runs are free: they never count toward your plan. They are kept in History with the trigger Manual.
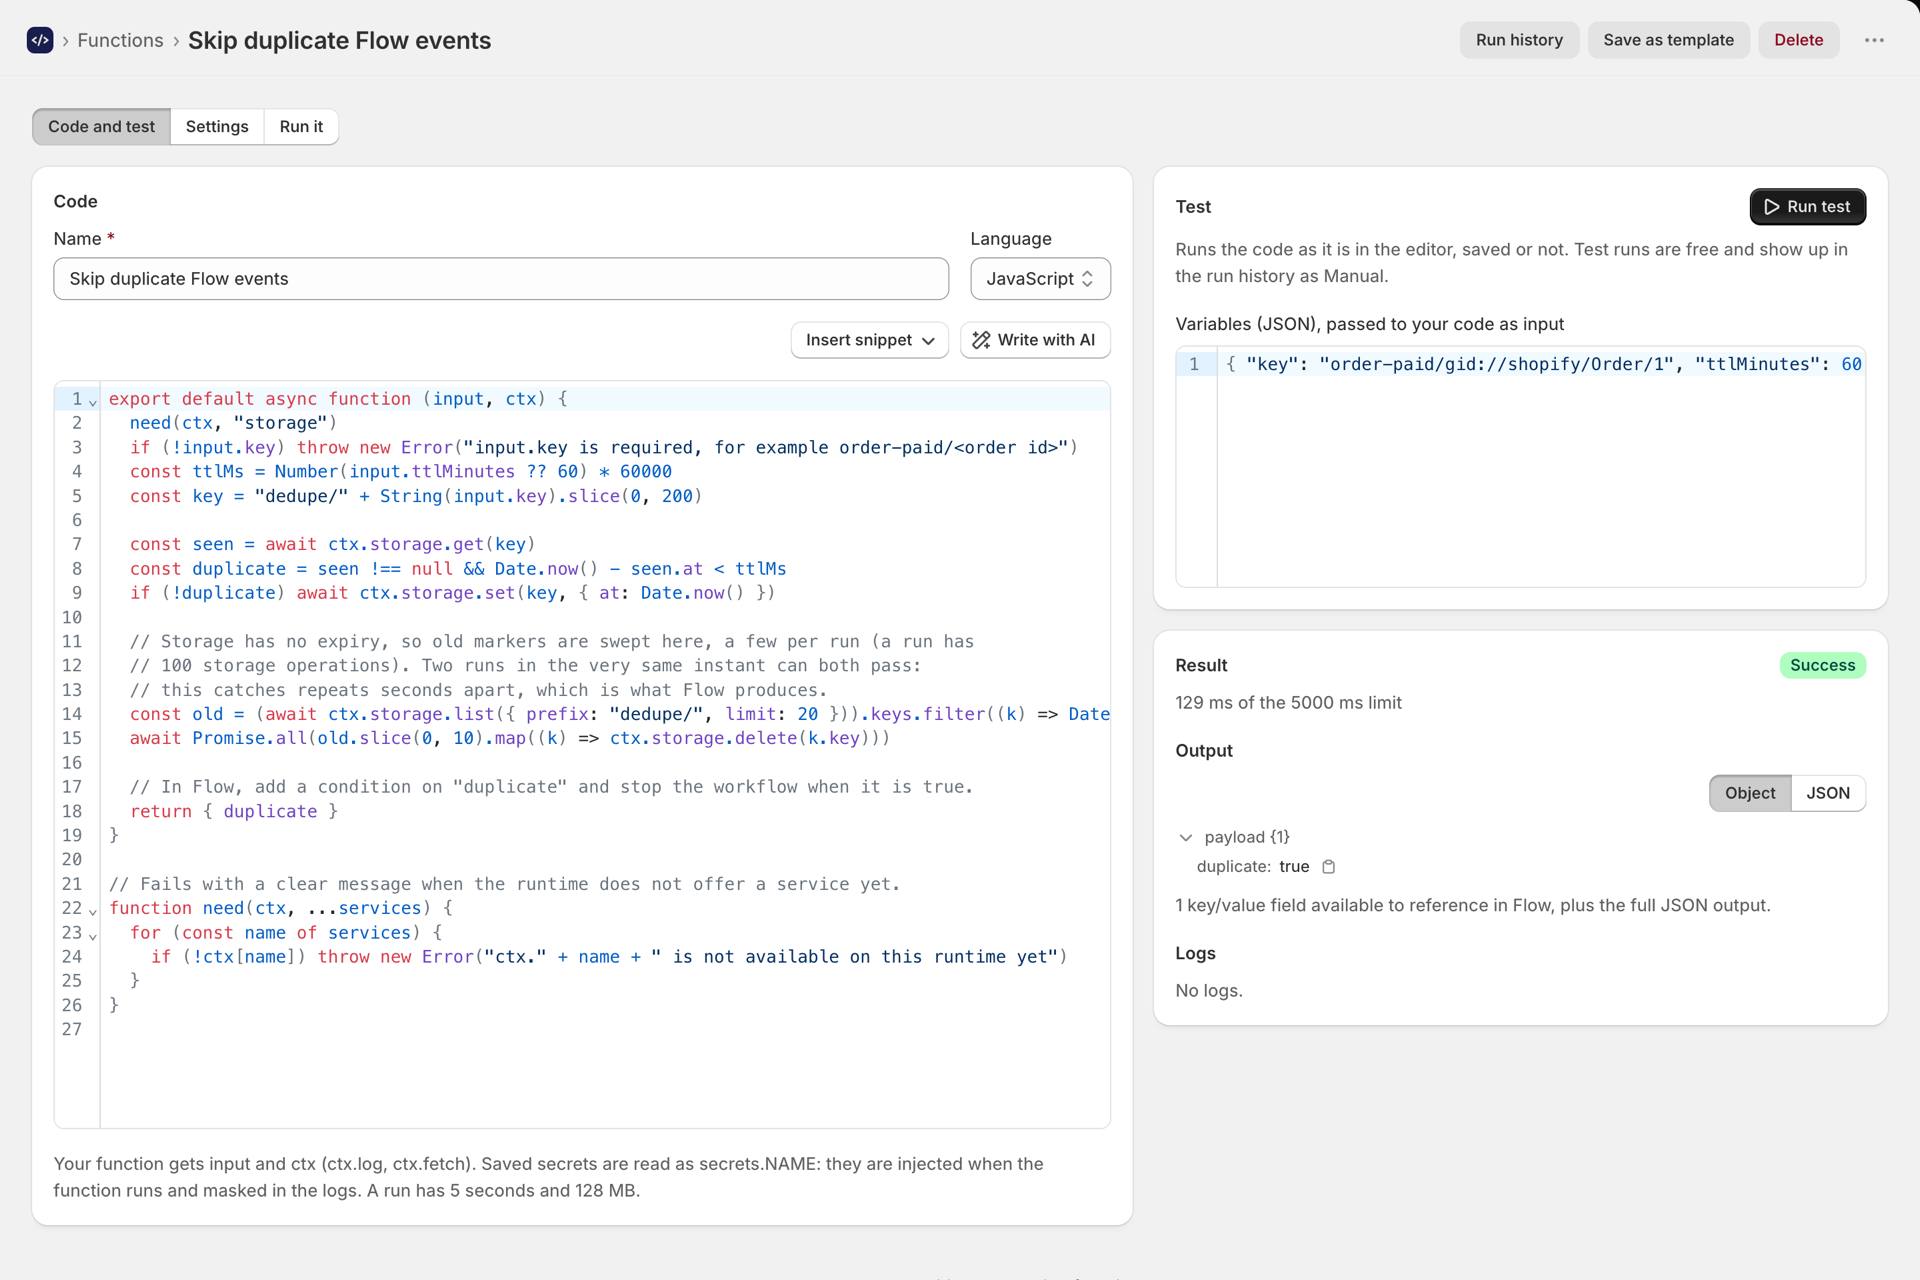
The variables are saved with the function. They are only test data for Flow, but a scheduled run receives them as its input - that is where you set a location or a threshold for a schedule.
Step 4: Settings
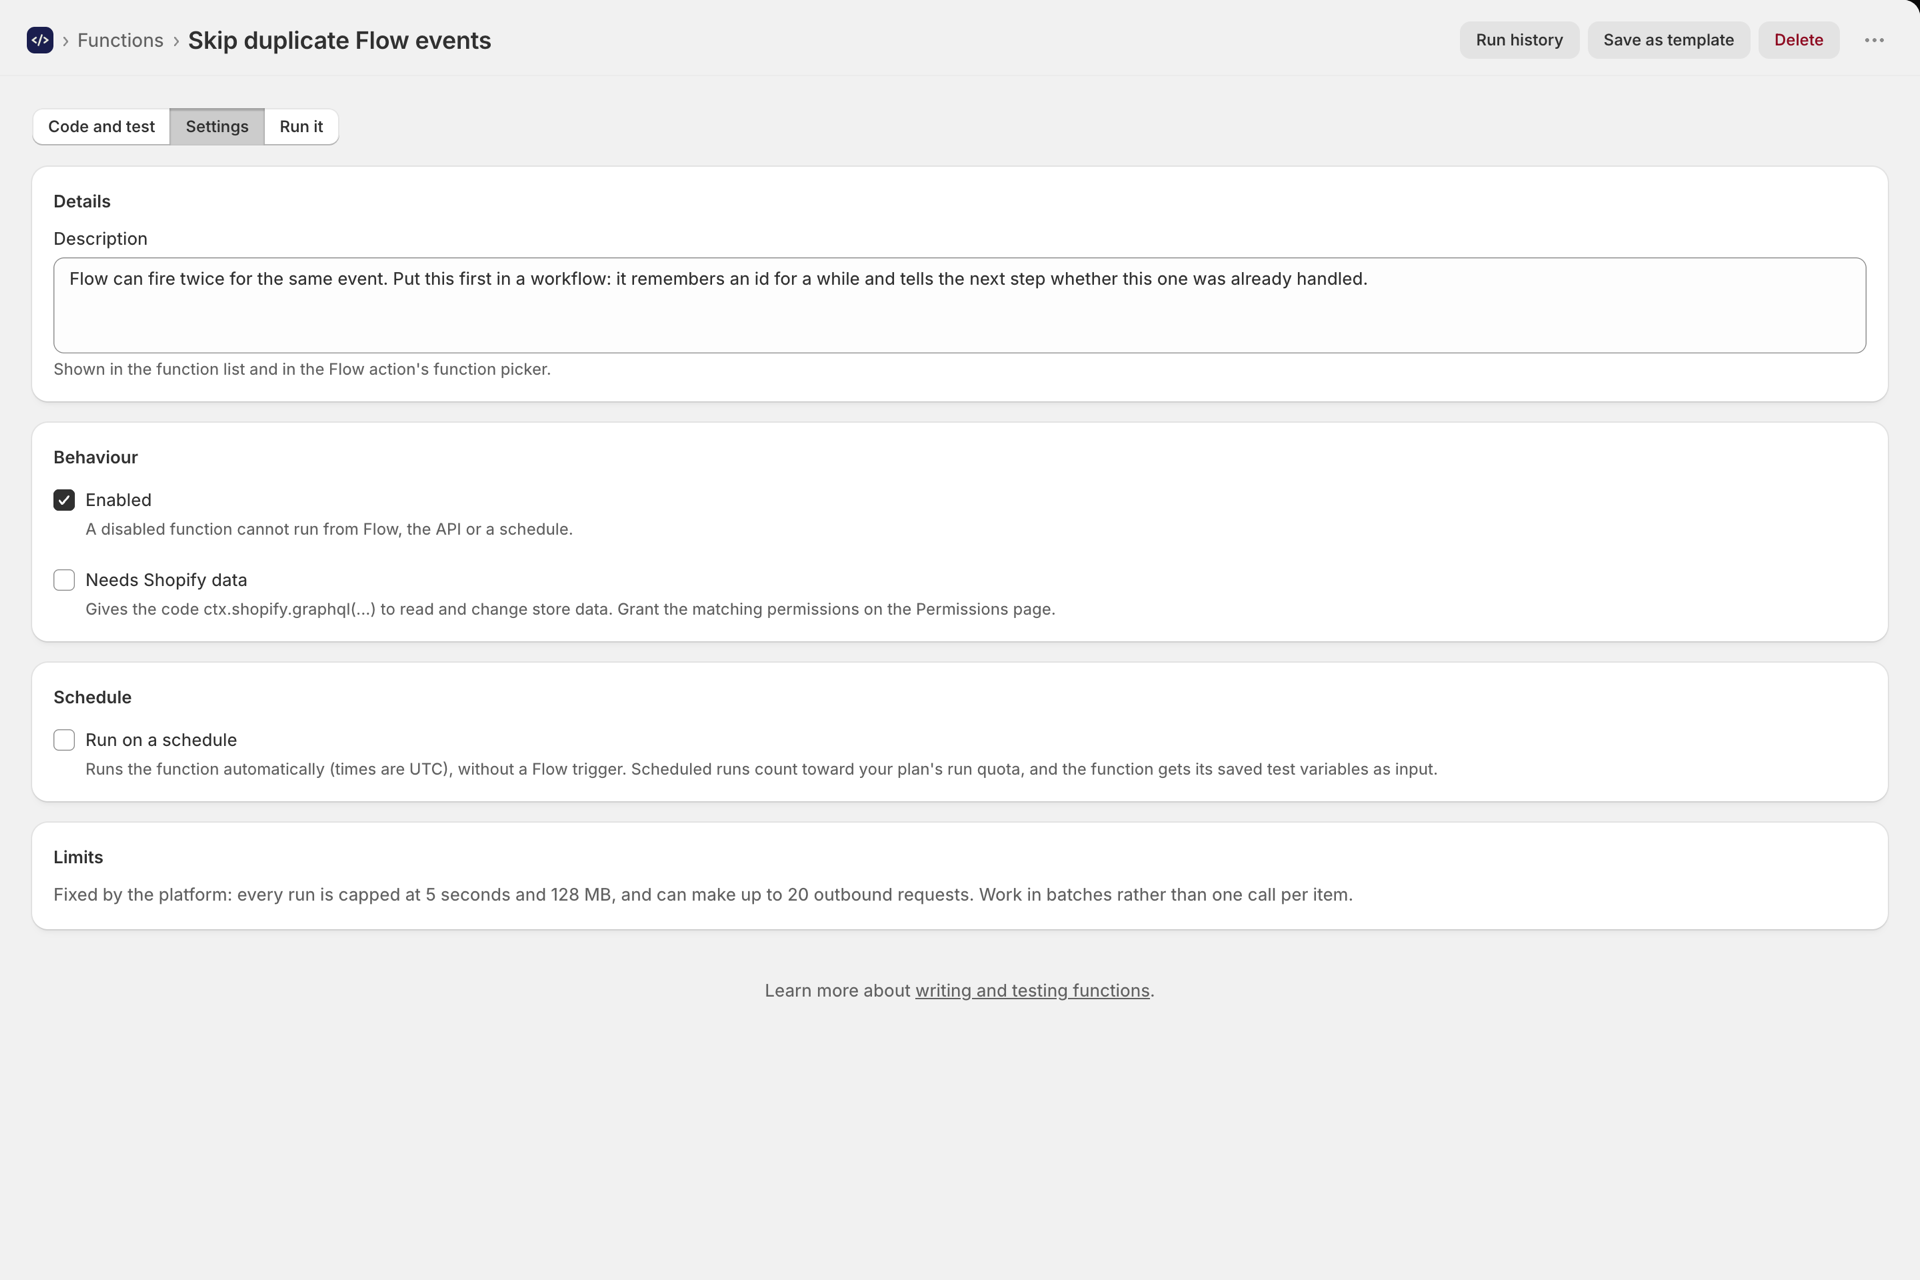
| Setting | Default | Notes |
|---|---|---|
| Description | Empty | Shown in the function list and in the Flow action's function picker |
| Enabled | On | A disabled function cannot run from Flow, the API or a schedule |
| Needs Shopify data | Off | Gives the code ctx.shopify.graphql(...). Grant the matching permissions on the Permissions page |
| Run on a schedule | Off | Runs the function on a crontab (UTC) without a Flow trigger. See Run a function on a schedule |
Limits are fixed by the platform: every run gets 5 seconds and 128 MB, and can make up to 20 outbound requests.
Step 5: Save
Select Save in the save bar at the top. Saved code is live right away: Flow, the API and the schedule all run the saved version.
Run it from somewhere
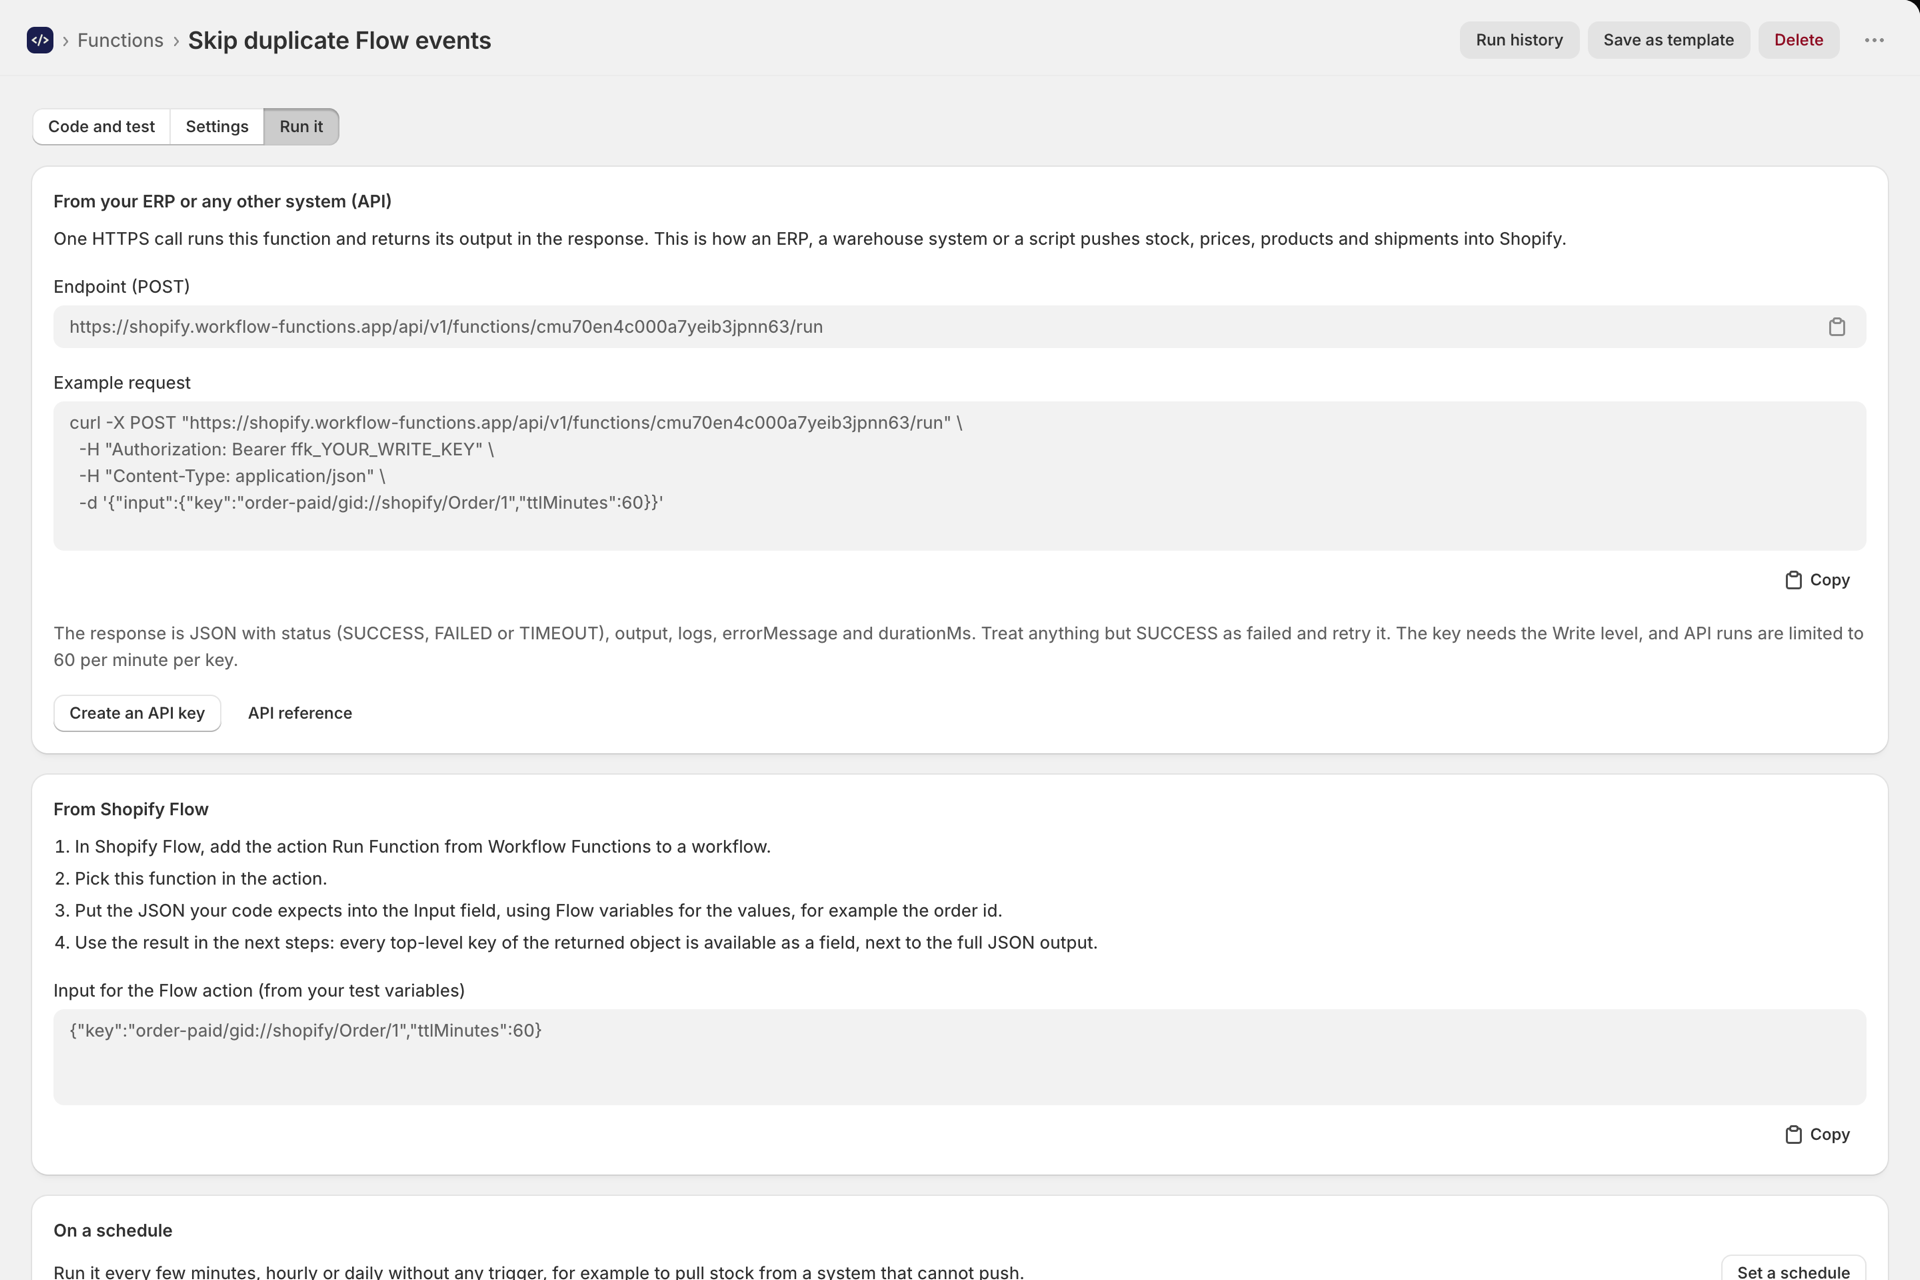
The Run it tab shows every way to start the function:
- From your ERP or any other system (API) - the function's endpoint and a ready
curlcall. See Connect your ERP or warehouse system. - From Shopify Flow - the steps, and the Input (JSON) to paste into the Run Function action, built from your test variables. See Set up the Run Function action in Shopify Flow.
- On a schedule - a shortcut to the schedule setting.
Version history
Every time the code changes, the previous version is kept - the last 25 versions of each function, whether the change came from the editor, a template, the API or GitHub. Pick one in Version history above the code to load it into the editor as an unsaved change; test it, then save to restore it.
Using store data
- Turn on Needs Shopify data on the Settings tab.
- Open Permissions and grant the resources your code touches. Read and write are granted separately.
- Call
ctx.shopify.graphql(query, variables).
export default async function (input, ctx) {
  const { data } = await ctx.shopify.graphql(`
    query($id: ID!) {
      product(id: $id) { id title totalInventory status }
    }
  `, { id: input.productId })

  return { inventory: data.product.totalInventory }
}
Your store's access token never enters the sandbox, and Shopify enforces exactly the permissions you granted. Full detail in Permissions and store data access.
Calling an external API
export default async function (input, ctx) {
  const res = await ctx.fetch("https://api.example.com/orders", {
    method: "POST",
    headers: { "content-type": "application/json", authorization: `Bearer ${secrets.PARTNER_API_KEY}` },
    body: JSON.stringify(input),
  })
  if (!res.ok) throw new Error(`Partner API returned ${res.status}`)
  return await res.json()
}
Requests to internal or private network addresses are blocked, and a run can make up to 20 requests. Keep the key in a secret - see Creating and using secrets.
Duplicate, save as template, delete
- Duplicate (the icon on the Functions list) copies a function, enabled and without its schedule.
- Save as template keeps the code as a template, private to your store. See Using templates.
- Delete removes the function after you confirm. Workflows that use it stop working; its run history is kept.
Common errors
Expand a message to see what it means.
Function must export a default async function▾
Your code has no export default. Add:
export default async function (input, ctx) {
  // ...
}
Compile error▾
A syntax error in your code. The message points at the line.
TIMEOUT▾
The run exceeded the 5-second limit. Usually a slow external API or an endless loop - keep external calls quick and offload long-running work to your own system.
No function configured for this action▾
The Flow action has no function selected. Open the action in Flow and pick one.
A function is disabled▾
The function is turned off on the Settings tab, or was auto-disabled because a permission it needs was revoked.
Next steps
- Example functions - copy-paste example functions.
- Set up the Run Function action in Shopify Flow - connect this function to a workflow.
- Connect your ERP or warehouse system - call it from your ERP.
- Run history and troubleshooting - inspect runs and fix failures.